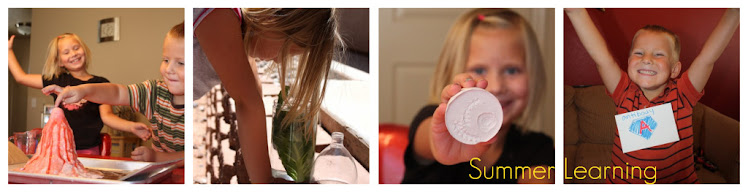
Wednesday, July 21, 2010

Vikings

On the way home from the movie theater, following How To Train Your Dragon, Hannah said, "Mom, I know that dragons are not real, but what about Vikings?"


And so a summer school topic was inspired.

What They Knew:  

Hannah:  They have their own handwriting, they fight, they lived in houses with roofs made of straw.

Seth:  They fight.

We covered a lot of aspects of Vikings:
  • where they lived
  • what their houses were like
  • how they ran their towns
  • what their boats looked like and were used for
  • what foods they ate
  • what clothes they wore
  • what tools they used
  • how we know about them
  • their alphabet, Runes
  • their beliefs, including the gods, and how we got many of the names of the days of the week...
  • Erik the Red, Greenland, Vinland, Iceland, etc.
  • their weapons and forms of fighting
  • unique customs
  • followed their travels on a world map
  • discussed why/how they disappeared
They wrote their names in Runes.  


And finally, we built this boat.  The day after Hannah decided to do Vikings for our next lesson, we came across this kit in the clearance bin at Michaels.  (yes, Michaels, despite my extreme dislike for them...they have the best assortment of fabric paint colors) .  At any rate, it was fate.  These kits are usually more money than I am willing to spend, but this boat has become a well loved and well used toy at our house...totally worth the 3$ I spent!

First Seth had to show me that he could make a sea horse out of these pieces.


Finished.  I told them to show me their Viking faces.  Yikes!


What They Learned: 
Hannah:  Vikings were very good at shipbuilding, they killed or banished people that broke the rules, Vikings often went to other lands and traded, or raided.  They wore gold, some people were rich, their ships were strong and fast and they put their shields on the sides of the ship, they carved heads of animals on their ships, they liked to fight, and feast, and their meetings were called "things".  The days of the week were named after the gods, Thor, Woden, and Frey/Freyja.

Seth:  Viking boats were fast.  They were also strong.  They killed whales for food.  They growed their own food.  They traveled to Greenland and Iceland.  They made their own weapons.

Another segment that we added to our school time was one on money.  My sister gave Hannah a bunch of foreign coins for her birthday.  So each "school" day, we pick out a coin, find the country on the map, discuss how many US dollars/cents it would be worth, whether or not it is still used today, etc.  They have really liked this part.  And so have I!

Next week:  Pirates!  (I know, it's so similar to Vikings...I will have to spin it a little to be more educational, and less horrifying.)

Monday, July 12, 2010

Sharks

Seth chose to learn about sharks this week.  I toyed with the idea of doing oceans as a whole, but that was just too much information, and my kids are all about the details, so we focused on sharks. 

What They Knew:

Seth:  They have sharp teeth.  They live in the sea, they eat fish.
Hannah:  They have sharp teeth.  they live in the ocean.  They like to eat fish.  They are very dangerous.  They live deep down in the ocean.

We discussed the habitat of the shark, and which type of sharks lived deep in the ocean vs. which sharks lived closer to the surface.  We named the most dangerous shark, the least dangerous shark, and some of the more unique sharks in between...i.e. the Cookie Cutter Shark and the Saw Shark.  The kids thought it was cool that the cookie cutter shark, which sounds so cute and sweet, was much more brutal than the saw shark, who sounds so vicious.  We discussed other members of the shark family, like Rays.  We talked about the three ways that sharks give birth...laying eggs, an egg case, and live birth.  Shark babies are called pups.  We discussed the distinguishing characteristics of sharks...like the lack of bones, the ability to replace their teeth, and their mode of "breathing."  We also talked about how many sharks need to keep moving so that they don't sink.  We learned that they have an oil in their liver that helps them have more buoyancy.  We poured a little oil into a glass of water to show how that process worked. 

And finally, we got crafty.  I had seen this idea on my friend Amy's blog a couple weeks ago, and knew that we would need to try it.  Here is the site that she got the idea from.  His looks so professional.
Ours looks slightly less professional, I admit.  But I just adore the kids' drawings.  Hannah did the octopus and the whale shark, while Seth did the black and green sharks. 


One thing I will say about this project...be prepared to be freaked out.  This currently sits on the table next to the computer, and more than once I have jumped because the fishies were "swimming"  (thanks to the AC) and I thought they were real for a second.  Creepy.  The top of the box is cut with long slits where the fish are attached to buttons.  So the kids can slide them around and constantly rearrange the fish like puppets.  Very fun. 

OK, so what did they learn?

What They Know Now: 

Hannah:  Some sharks live on the very bottom, cookie cutter sharks use their teeth like a cookie cutter, whale sharks are almost completely harmless, all sharks eat meat, oil helps them float, the oil is in their liver, some sharks eat each other, some lay eggs in a sack, the Great White is the most dangerous shark, sharks barely ever get sick, if sharks stop swimming, they sink.

Seth:  They can eat their own babies, some babies eat their brothers and sisters, the cookie cutter shark makes cookies out of its prey with its mouth...even huge whales, the huge shark eats tiny food, and he's nice, and fat, the whale shark...that's what he's called, some sharks live at the bottom and look like sea weed, one shark looks like a swordfish, they are flabbery because they have that stuff inside that's not bone.

Next Week:  Vikings (Hannah's choice, inspired by How to Train your Dragon)

Tuesday, July 6, 2010

Plants/Photosynthesis

Even though the kids had both done plant units in school this spring, they were still both very interested in it.  So...we made it our choice for the week.

What They Knew:

Seth:  "they grow by seeds, they need water, they need sunshine, they need air, they are alive, some plants eat bugs, some are big and some are small"

Hannah:  "they need to breathe, they are big and small, they need certain things to make them green, they need warmth, sunlight, and water.  they need time to germinate, they need soil, the leaves make the food, if they don't get pollinated, they can't make seeds"

As you can see, they already had a pretty good grasp on the concept.  So I had to push it a little further.  Thankfully, I had prepared more than I thought I would teach.  So we ended up skipping most of the basics and focusing on photosynthesis.  They filled out a worksheet labeling the parts of a plant.  We read the book "The Life Cycle of a Carrot".  We talked about seed dispersal and looked at different ways seeds can be spread.  We learned about various unique plants from around the world.  We discussed vocabulary words, including:  root, stem, leaves, flowers, fruit, seeds, chlorophyll, photosynthesis, sugar, oxygen, and carbon dioxide.  We learned the basic process of photosynthesis and the function of chlorophyll.  Plants use water, carbon dioxide, and sunlight to make their own food.  As the food is absorbed, the plants leaves release oxygen into the air.  (thank you, plants, for making our air so much better to breathe!)  To see this process in action, we put lettuce leaves in water and placed them in the sunshine.  About an hour later, we observed little bubbles of air on the surface of the leaves and into the water.


The picture doesn't show it very well.  You can see the tiny bubbles on the side of the container better than you can see the big bubbles right on the surface of the leaf.  Bummer.  BUT, the kids could see it perfectly in person. 


What They Learned: 

Seth:  "we don't eat the top part of a carrot, we eat the root.  Some plants wrap around other plants and eat their food.  birds and bees transfer pollen.  plants make air."

Hannah:  "There is a flower that is 3 ft wide, the redwood trees can be taller than the statue of liberty, people can spread pollen on purpose to make their crops grow more seeds, fruits have 2 jobs 1.  to be delicious, and 2. to protect the seed.  Chlorophyll is the stuff that makes it green.  Plants make oxygen for us to breathe."

Next week:  Sharks (it was Seth's choice)

Monday, June 28, 2010

Maps

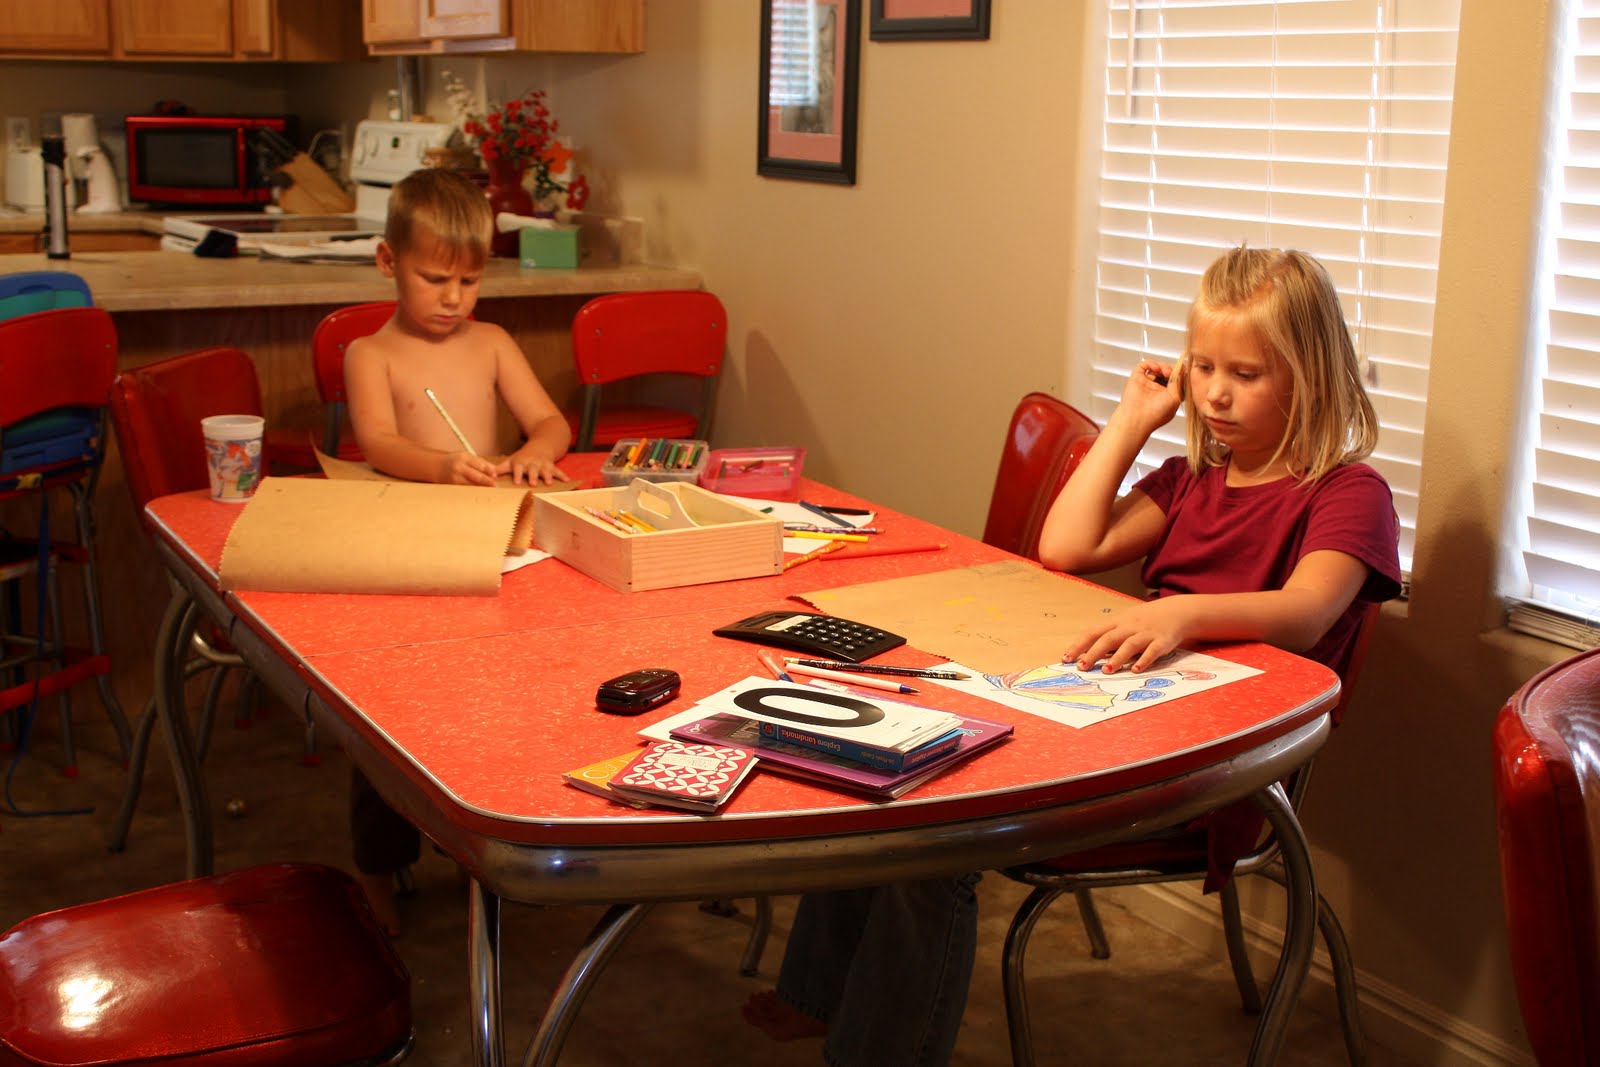
Summer school is back in session for us.  In each of our formal summer school sessions we include the following:
  • a math skill sheet
  • a reading comprehension and/or spelling skill sheet
  • a critical thinking activity
  • a landmarks of the world card (I got this set of flashcards at the Target dollar spot last year, and the kids have loved them)
  • a pre-interview where they tell me what they already know
  • the main lesson plan and activity
  • the post-interview where they tell me what they learned

The kids have a list of topics already in line for the summer.  For some reason, this is the one that ended up going first.

We had actually done maps at some point a couple of summers ago.  The kids filled out a map of the United States, marking major landmarks where they thought they went.  Look HERE to read more about that. 

So I wanted to go a little further into the subject this time.  Here is the Pre-Interview:

Hannah:  Maps can show you where things are-- they can show you how to get places.  Show you treasure.  They can guide you through things.  There are lots of kinds of maps, like treasure, world, country, state, city, body, room, and yard.

Seth:  They can show people where to go and they help you get around.  They help you get to different countries.  There are world maps, maps to help you find treasure, and maps of your body.

We started off by having Seth read the book "You are Here" by Jennifer Gillis.


It is a basic guide to maps and how they work.  My only complaint was that it was a little simplistic for where my kids were.  We looked at a variety of types of maps, from floor plans to house plans, to topographical maps.  Thanks to daddy's job, we have a great variety of maps to choose from.  We brought some math into the process by going deeper into scale.   I printed some simple maps from the internet (just google "map images" and you get all sorts of good stuff).  I just made sure the ones I printed had a scale marking on them.  We estimated the distance between cities using the scale and small rulers.  They loved this.  It was great because Hannah is getting pretty good with her multiplication, and could just say, "oh, that one is 6 times 2 miles, so...about 12 miles away!"  Seth did the whole counting by 2's thing to get his answers.  We also talked about keys and how they help us read maps.  If I had it to do over again I would go into latitude and longitude because I think they were ready for it.  Oh well.  We can always throw that in later.  Finally, we made our own maps.  They used these brown paper sheets that Rick's mom gave me last year.  They are perfect!  I just told them to make a map of our city.  There were no requirements...just put the things on that were most important to them.  I was curious to see what this would uncover.


Seth's locations of choice were:  McDonald's, IHOP, Wal-Mart, our house, our neighbor's house, church, and the grandparents houses.  His map is really hard to read because he did it in pencil.  After they were finished, we burned the edges.  This was Seth's favorite part of the whole day.  Little pyro.


Hannah's map was heavily dependent on the key.  Her keyed locations were houses, stores, "dinner places", library, Brushfire (a pottery studio that she adores), Jumpin Jacks, school, church, the splash pad, and her piano teacher's house.  The key symbol for school was a bell, the symbol for her piano teacher's was a little piano, the splash pads were raindrops, and the restaurants were little forks and spoons.  The way she laid out her locations was actually fairly accurate.  Based on her North/South orientation, she placed the grandparents houses in more or less the right direction.  I was impressed.  Overall I thought the maps were pretty representative of the two kids personalities!


Post Interview:

Seth:  There are lots of kinds of maps.  They can show you lakes and roads.  They can show you your own back yard.  The scale helps you know how long away something is.

Hannah:  Scale on a map helps show things that are not that size in real life.  Floor maps (plans) are maps of houses.  What?  I already knew everything else!!!

Next week:  Plants!

Wednesday, June 23, 2010

Patience

I am working on updating here...I have two home school posts to make when life settles down enough to get to it...but I am just reminding you that if you are already on as a contributor, you can post your own ideas/lesson plans, etc.  If you are not a contributor, but would like to be...leave a comment here and I will add you.  If I don't already have your e-mail, leave that in the comment as well.  Please, feel welcome to post anything from a fun art project, to a good teaching book for kids, a great website, etc.  It doesn't just have to be lesson plans and pictures! 

Sunday, August 16, 2009

Weather

This was our last major home school topic. It was a great summer, and I feel like the kids learned a lot.

In fact, Seth has made major leaps in reading and writing. We worked on things a little bit at a time, so that he didn't ever get frustrated or sick of it, but suddenly it was like a light turned on, and he was suddenly reading! He is sounding out words to write them, as well, and I am loving some of the stuff he comes up with.

Here is Seth reading on one of the first days after he realized he could do it himself!

Hannah's love for science has only deepened. She is so inquisitive, and has been known to ask really thoughful questions days or even weeks after something struck her fancy. I love it! She has become a great journal writer, and loves to makes lists and answer questions in her journals. She also loves to take her encyclopedias and transcribe them into notebooks. Not sure what she sees in that process, but OK!

As for Weather:

Here is what the kids had to say in the pre-interview:
Hannah: There's sunny, cloudy, rainy, half cloudy, half sunny, and half rainy. Weather can be harmful or calm.
Seth: It can be sunny and rainy, cloudy and stormy, and half light and half dark. Gas makes the sun. It gets really hot, really cold, and really icy.

So we went through books and talked about different types of weather. We talked about how the earth's rotations makes the weather change. We talked about severe weather, normal weather changes, seasons, the water cycle, and lightning and thunder. We talked about various tools used to measure the weather. We talked about how we would dress based on the weather. We talked about the different types of clouds and named them. We talked about why they look the way they do.

We did a couple of simple experiments. We put ice cubes and salt in this metal bowl, and watched it for about 20 minutes. Here is is after just a few minutes...condensation, and freezing already starting!
Then when we checked it again after the full 20 minutes, it looked like this!
I told them how the air all around us has moisture in it, but it's not cold enough to feel like water or ice, but when it comes near a colder area, like a glass filled with ice, or this metal bowl, the water in the air condenses and either turns to water or ice, depending on how cold it is. They thought this was cool because they had always thought that the water sort of "leaked" through the glass when a glass had ice in it.

The second experiment was more complicated, but very cool. Basically we were making a cloud in a bottle. Hannah got this cool science book called Pop Bottle Science for her birthday from her Aunt Marcie. It comes with a few simple items (like a pop bottle) and you can do 79 experiments with it.

Step 1: Add two inches of hot water into your pop bottle.
Step 2: Blow into the bottle to fill it completely with air, and then cap it.
Step 3: Shake the bottle for one minute. This mixes the water into the air molecules.Step 4: Light a match...let it burn for a couple of seconds, and then blow it out. Quickly uncap the bottle and drop the match in, and recap. Step 5: Lay the bottle on its side and push down on the bottle as hard as you can. Rick was better at this part than I was. You can see the cloud forming in the bottle, and condensation will occur on the inside of the bottle. Step 6: When you see the cloud, uncap the bottle and let the cloud out. We had to squeeze the bottle a couple of times for the cloud to escape. The dark colored paper was there so that you could see the cloud better. (I amped up the contrast on this picture so that you can see the cloud swirling up from the bottle better. You could see it pretty well in person, but it's hard to get good pictures of it!)
Essentially what is happening is that clouds are made of water vapor, air, and particles of dust. We added the match so that the burnt soot would dirty up the air and make the cloud more visible.

This one was a lot of fun because right around the time that we did this lesson, we had a lot of thunderstorms in the area. The kids were able to see all the types of clouds we had learned about, and looked at lightning and thunder in a whole new way.

The post-interview:
Seth: They use special tools to catch up to storms so they know what it is like. There are tornadoes. When it's wintry weather, you would want to wear gloves and a jacket and a scarf. Lightning comes first before thunder. Air crashes and makes thunder.
Hannah: There are different kinds of clouds. There's cumulus...like poofy clouds. I learned the water cycle. The water goes up to the clouds and the clouds fill up with rain so it comes down and then the sun evaporates it into the air and it does it over and over again. Thunder happens when the air explodes from the lightning and pushes the water in the air.

Next week: nothing. We are finished, but I will probably add a few things here and there throughout the year. I want to keep track of ideas so that I can use them with the Round 2 children, MaKaty and Cru. Until next time...

Wednesday, August 5, 2009

Pioneer Day/Bread and Butter

First of all, this is a rather photo heavy one...so bear that in mind.

The Pioneer Day holiday inspired me to refocus school a bit for this particular week. I decided to talk to the kids about what life might have been like in pioneer times. We discussed the trek across the country. We talked about the terrain they covered. We discussed how they traveled, by wagon and handcart. We talked about the dangers of the land and the dangers of illness, etc. We talked about what they might have packed in their wagons and what they would have had to leave behind. And we talked about what they might have eaten, and how they might have prepared it. Then we focused in on BREAD AND BUTTER. We talked about how yeast worked. We did a yeast experiment. We made homemade bread. We made butter from cream. We toured a local bakery. And at the end of it all...this is what the kids had to say.

Seth: Pioneers bought oxen and cattle. They made butter. They made their clothes. They brought blankets and rope in their wagons. They walked across America and they left where the bad guys were hurting them and went far away from them. Yeast makes bread rise. If you don't push the air out of bread, it will build a big hole in the bread.

Hannah: The Pioneers traveled across America. They made their own butter and bread. We celebrate them on Pioneer Day. They carried their supplies on handcarts or wagons. Yeast rises and if you don't knead the air out, there would be a big hole in your bread. (they steal ideas from each other, obviously...)

Here is our yeast experiment. All three glasses had cornmeal in them. The first had only cornmeal and water. The second had cornmeal, baking soda and water, and the last had cornmeal, yeast, and water. We watched them for 20 minutes. In the meantime...

We mixed up some dough:
And kneaded it. (I used to be a Kneader at Great Harvest Bread Company...I find kneading to be fun and relaxing. My kids enjoyed it as well. You could say that kneading is in their blood ;)
By this time, our glasses looked like this. We talked about how the second glass obviously had seen a chemical reaction, but no growth. The third glass had grown due to the yeast, and obviously...the first glass just looked like cornmeal in water. Easy peasy. They could really picture what was going on within the bread dough.
While we waited for the dough to rise...we took cream and put it in jars and shook it like crazy!
It turned creamy and thick...
Then suddenly, the butter separates from the whey...and makes a big thunk! Pour off the whey and you have homemade butter. (I did add a little salt to flavor it, but not a lot).
Before long, our bread was ready to go into the oven:
And finally! Bread and Butter! They look proud, right?
OK, onto the field trip. I scheduled a visit to a local bakery. But they didn't do tours for less than 20 kids. So I called up a bunch of friends, and they all showed up! Yay! We made quite the crew. But the kids were all really good. I think they had fun. I hope so, anyway!

A funny note...when we were all listening to the tour guide, Brett, give us instructions on not touching things and trying not to get dirty...he asked if there were any questions or comments. Seth's little buddy, Alex, piped up with, "I can see China from here!" Man, kids rock!

The tour started with the kids seeing the big mixing bowls. They are huge! To give a little perspective...they are big enough that when I worked at this bakery, years ago...we decided to see if it was big enough for me to fit in with the lid on. It was. I know because I climbed inside and a customer came into the store, and I had to stay in there until the customer left. Nice. Anyway...they are big. Brett told them that sometimes he comes in and fills them up with Captain Crunch and eats until he's sick. They thought that was pretty funny!
He told them that he was going to make bread dough as fast as he could. In fact, he was attempting a world record.
Thanks to Heidi for this photo...I hijacked it off her blog! He made his blob of dough in 36 seconds! Using flour, water, honey, and salt. Of course the yeast is also a factor when they are making real dough...
Here is what a full batch of Honey Whole Wheat looks like:
(another note...when I was working there...I could lift a 3/4 batch of dough from the bowl onto the table...by myself. It is not for the faint of heart, though...if the weight of the dough doesn't kill you...the smell of yeast as you pull the dough from the sides of the bowl will!)
Here they are separating the dough into loaves and kneading it.
Onto the oven. When he opened the doors, Maxine yelled, "It's like a ferris wheel for bread!" The shelves inside the oven rotate around just like a ferris wheel. Bennet also noted that the oven felt about as hot as it is outside. hehe. It *is* pretty hot out there!
We can sure fill up a bakery!Here are the breads rising and waiting for their turn in the oven!
And here's Bennet enjoying his slice. My kids wouldn't pose for a picture, but Bennet would. Thanks, Buddy!
Thanks to Beka, Amy, Jamie, Shauna, Angie, Shelly, Chantel and Heidi for bringing your kiddos and making it so that we had enough kids for a tour. It was fun!

Next week: Weather!